A New Toy… The DeltiQ XL 3D Printer
Inhaltsverzeichnis
As you may know, I do own a few FFF machines and am quite a hobbyist when it comes to 3d printing stuff. Sharing my experience with work colleagues, I could even convince some of them to purchase printers themselves – a bunch of Ender 3’s, if I’m not mistaken.
Alas, there comes a time when after an AWorldnet A8 (or a clone, don’t know who cloned what on AliExpress) and a TEVO Black Widow a new toy must be purchased. To be clear, I liked the BW’s large print bed and pimped the sh1t out of it with awesome parts designed by very capable people on Thingiverse. Unfortunately, the machine does not work reliably, and having to fix it instead of printing stuff is just only for learning. I need something I can just turn on and relax.
In March 2019, Heise Media Group held an Event here in Munich, called “Make”. I went and while it certainly cannot measure up to CCC around New Year’s Eve, I got to see a lot of promising projects (not only) from Munichs maker community.
Among those, Michal Boháč (CEO) and Vojtěch Tambor (CTO) of TRILAB, a Czech based firm specializing in building a custom Delta 3D Printer. Of course, they had two of their printers ready to show, and also brought a lot of items printed with the model. I got to talk to Vojtěch, “the hardware guy”, for quite a while, and he shared some insights on what he thinks the main advantages of their product is:
- No moving print bed (deltas’s, coreXY mechanics): overall, a much more stable print, particularly with taller models. CoreXY such as Ultimaker seems to run into resonance issues when the Eigenfrequency is approached.
- Delta Kinematics: faster print head moving speed and better acceleration and deceleration performance.
- Very light weight print head: apparently, the print head weighs about 50 grams (without the CFK tubes). This also supports a very high travel speed.
- E3D-HotEnd: Yes, I believe the best one. Don’t use the clones. It truly is about precision.
- 25cm print bed size in diameter: should be fine for hobby projects.
- Bowden Extruder: As only the hot end is mounted on the print head, the filament is fed through a Bowden tube.
One special Extra: as you know, a Bowden tube will prevent you from printing flexible filament, as this will not move through the tube. So far, this was a blocker for me for Bowden extruders in general. But, let’s see. To cut this long intro short, one thing led to another, and –BAM– suddenly I’m the proud owner of a Trilab3D DeltiQ XL printer with WIFI support and one add on.
1. Disclaimer Inhalt
I’d like to point out that –unlike Vine Testers– I did not receive the printer for free. They’re a regular company; I’m one of their customers. As such, I’ll write pretty much straight forward what comes to mind, I’ll share any thoughts I have on the printer. Needed a reliable one for a start-up endeavour anyway, so here goes…
2. A short word on construction Inhalt
Firstly, with the Delta Kinematics, it is about precision. You need to construct the machine in your CAD very carefully; same goes for producing the parts and assembly. Instead of having three end stops for each X, Y and Z axis, in this version there are three for the three columns. Homing means to drive all three sliders all the way up to the top. If reached, the print is ideally is centred exactly in the middle of the build plate. Otherwise, the full range of motion cannot be achieved and the print head might crush into the columns even.
And secondly, the Delta kinematics basically mandates a bed level sensor of some sort. Otherwise, one cannot adjust for any imprecisions between build plate and columns’ alignment that may occur during assembly or come with aging and vibration.
3. A short word on the company Inhalt
From their Web Page, I’ll quote this description:
The dream that we originally shared was to produce great 3D printers with delta kinematics and make them accessible on the Czech market. It only took us until 2017 to achieve that dream—but our customers, the real users of our printers, quickly made us realize how many more improvements, developments, and labors still lie before us. The great feedback we’ve received from our partners within industry, research institutions, and the art world has enabled us to rework our printer completely and present the DeltiQ: a new generation for our delta printer, and one that we’re convinced will become a standard in its class.
4. Tips && Tricks || Caveats Inhalt
Here, I collect some points I noticed while using it. As there is no printed manual, maybe those can be added later.
- Do not clean the print bed while it’s hot. The alcohol will evaporate almost immediately and, where not wiped, leave some residue on the bed. This residue prevents sticking of the material to the surface.
- Use the PruaSlicer in its latest version (at time of an update, it was 2.1.0-alpha1).
- Download the latest Slic3r PE-Profile from their web page. It works for PrusaSlicer as well.
- In case you want to use your own init code, make sure to always do a bed leveling procedure, after it is heated to the desired temperature.
G28                       ; home all three columns
M190 S$bed_temperature    ; e.g. M190 R55 to heat and wait for 55°C bed temperature
G29                       ; Start levelling
M109 S$hotend_temperature ; e.g. M190 R190 to heat active hotend and wait for 190°C hotend temperature
- Retraction is king. In slic3r, I use 4.1mm retraction and 0.4mm z-hop; still, some stringing occurs, particularly with PETG material.
5. Things that merit improvement Inhalt
In this section, I collect items I noticed during usage. Please note that I’m awfully picky here, but as I said, considering the price, those should exist.
5.1 General Quality Questions Inhalt
- PEI print bed coating sometimes throws bubbles or at least gets bumps. After print and when heated.
- Print bed is partly discoloured after some printing the same model a few time at the exact same position. I wonder why?
- Strange noise during print. As if something is loose beneath the bed.
- The USB cable is a bit too long.
- Printer is supposed to sense when crashing into the model. This did not work in at least one print, where it pushed the print off the bed and extruded a large PLA blob under the nozzle.
5.2 WIFI Module Questions (RaspBerry 3B+ with OctoPrint) Inhalt
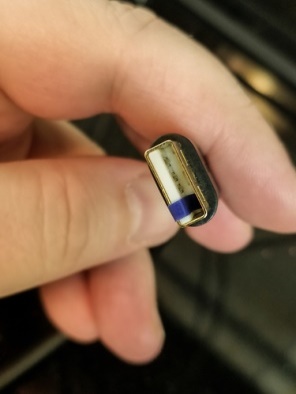 The OctoPi is connected via USB to the mainboard. When powering off the printer mains, the MKS is still powered by the RasPi’s USB power; but it’s not powerful to support the whole electronics. Flickering LCD illumination. Could be solved by a USB cable that just pipes data lines and ground through. Or DIY, as I did, here on the right.
- There is no way to power down the WIFI module without going to the web interface. As it’s a standard Pi 3+ with a regular SD Card in it, I wonder how long it will last. I have not looked at the partitions, but can only hope that the system partition is read-only and uploads and time lapse videos go to a separate partition.
- There are solutions to equip the Pi with a power button; I wonder why one of those was not used.
- For that money, a cheap RasPi 5″ screen could have been included as well.
5.3 Firmware Questions Inhalt
- Cold extrusion is not prevented! Printer will move extruder even with hotend off.
- The firmware seems based on Marlin 1.0.1; I wonder if there is an Update in the meantime.
- If printing from SD-Card, there is a view to show the print head’s position. The second column always remains at 0%.
5.4 Open „why didn’t they“ Questions Inhalt
Considering the price they’re asking for their printers, I do wonder a few things about the hardware choices they made.
- The printer comes with a 20×4 LCD control. Why is this not a bit more fancy 128×64 graphics LCD? Both the MKS and the firmware base support this easily and one could fit more information on it.
- The printer comes with a standard MKS RAMPS (1.4?) sort of board. Smoothie board, anyone?
- The power supply unit is a fan-less 240W 24V no-name brand one. Could we get a nice Meanwell 350W / 400W one? It takes the bed about 2:30 minutes to heat up to 55°C from room temperature.
- Why does the PSU have a self-printed cover / part enclosure / touch protection of the high voltage power lines? It is flammable (consider that the PSU may get very hot) and may break easily. I wonder if this complies with electrical regulations here in the EU.
- Why did they use a standard and seemingly cheap user interface module on the printer? It would be so easy to add a few buttons to the RAMPS board, e.g. for loading and unloading filament, heating up and powering down. It’s cumbersome to navigate the menu in order to reach these functions in the sub menus.
- There is a fan in the base of the printer, and it’s very loud. Unfortunately, it’s running full speed always. I wonder why it is not temperature controlled or why it couldn’t have been a larger one, quieter.
5.5 Other things to consider for long term invest Inhalt
- Printed body parts: a lot of parts on that printer were printed themselves. I wonder for instance:
- how long will the fidgety holder part for the extruder motor hold?
- how long until the spool holder is grinded through?
- Will the print head fall apart caused by vibration of printing? Will the screws hold in there?
- Linear Bearings: How would I maintain the bearings with the sleds on them?
- Firmware: would they make the printers firmware open source on Github? I’d like regular updates here.
6. Printer Usage Experience after 4 weeks Inhalt
Regarding Slicer
- As I find myself unable to use the KISS slicer software on a high DPI 4K monitor, I switched to PrusaSlicer, meanwhile in 2.1.0-alpha1.
- It is surely not the best software available. Particularly, support structure generation is a lucky guess sometimes, and slicing speed is not the best either.
- But, I must say, with PrusaSlicer, print results are very good, nearly as advertised and almost always close to however perfect quality you can expect from the FDM technology.
- Still, I occasionally get a visible distortion, when small parts are combined with large parts of a layer. In this case, print speed would differ between those parts of the model within a layer, and the slower printed part would show a bit more extrusion.
- Also, one large footprint-print was pushed off the print bed so far; I probably forgot to clean the bed beforehand.
- The smallest layer height seems to be 0.1mm, which quite frankly is fine enough for even semi-professional applications.
- I print PLA at 80mm/s inner / 50mm outer perimeter speed, 4.1mm retraction, 0.4mm Z-hop and ~190°C hot end temperature.
Regarding OctoPrint
- With the integration into OctoPrint, you can build yourself a nice tool chain: CAD > STL > PrusaSlicer > G-Code > OctoPrint > DeltiQ XL .
- Optionally, in order to smooth over edges, I use the free version of SketchUp 2017 and the RoundCorner plugin.
- Also, in order to clean a model of superfluous faces, there is the CleanUp^3 plugin. I consider it mandatory for working with STL imports.
The toolchain in this case then is CAD > STL > SketchUp > STL > PrusaSlicer > G-Code > OctoPrint > DeltiQ XL .
7. Conclusion so far Inhalt
-
- Bleeding out on different print speeds (but my fault: wanted faster speed!)
-
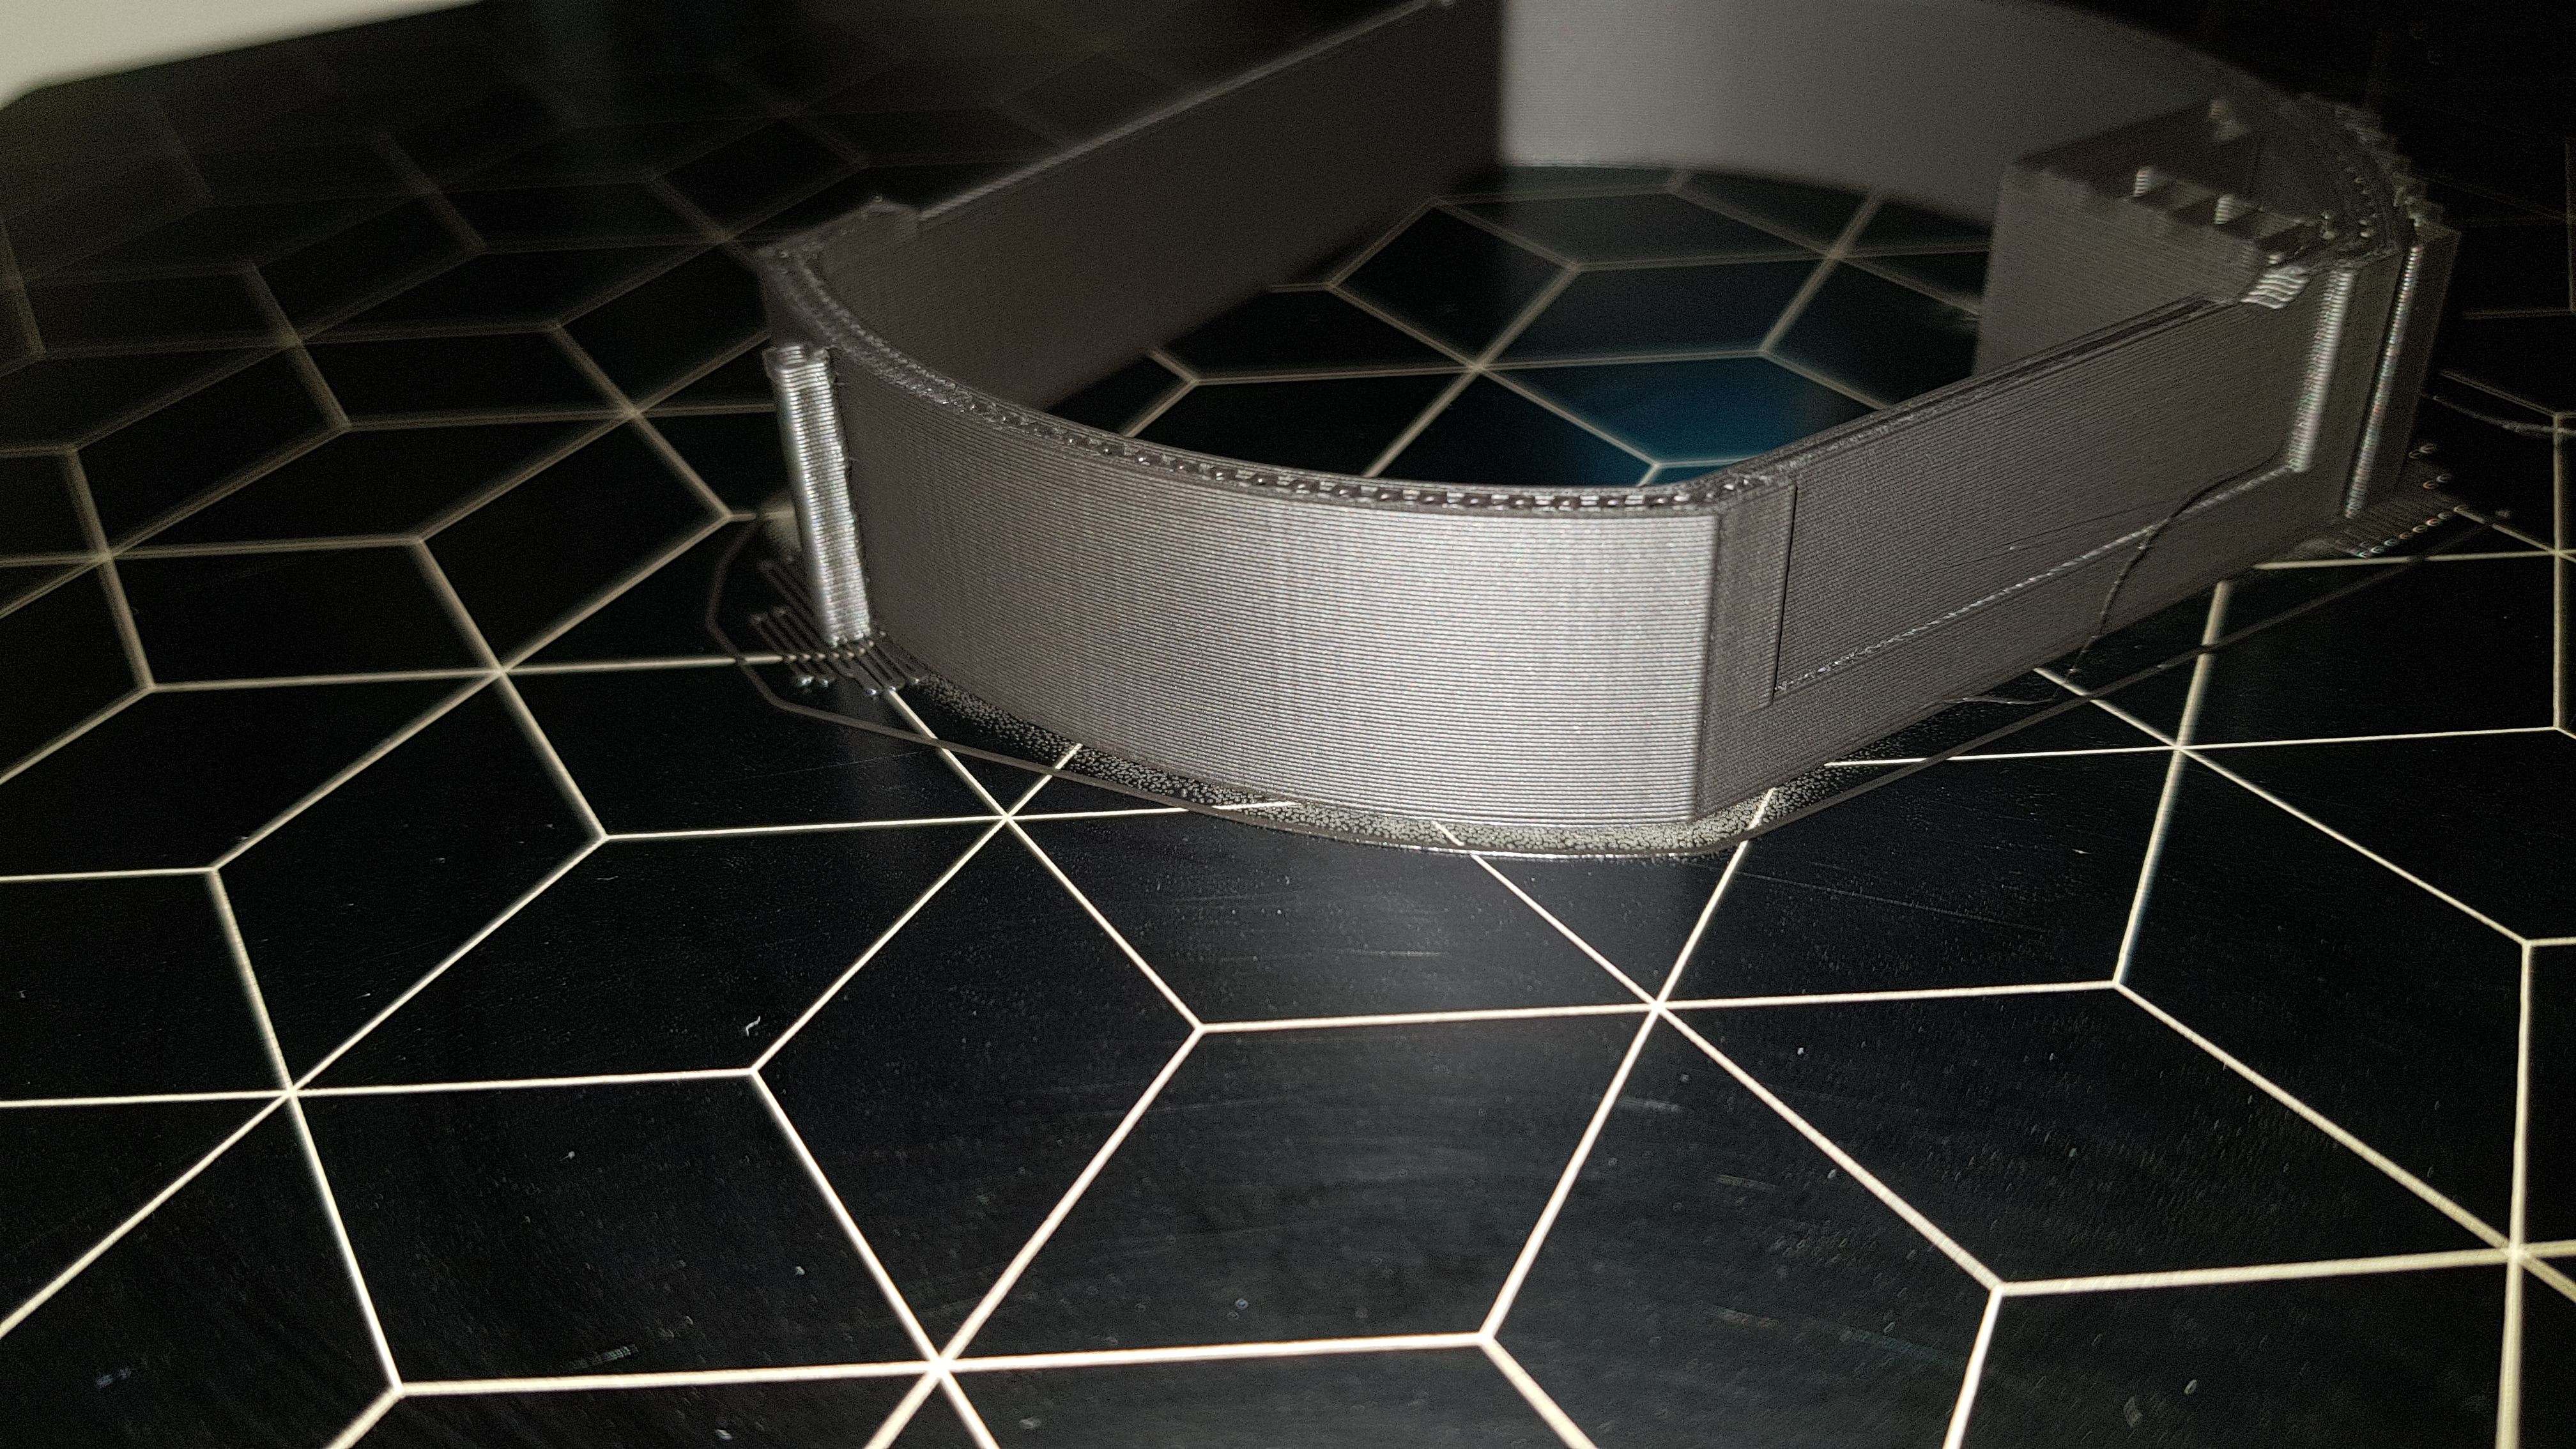
- look at this quality (FDM!)

-
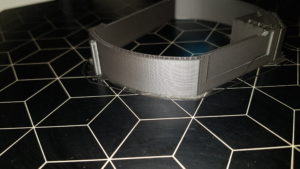
- and here the edges: almost no blobbing there
- Well, paramount requirement for me was a hassle-free, “just-works” kind of setup, and that I have gotten, at least from what it looks like now after these weeks.
- As they’re targeting semi-professional usage, and do have advantages over the UltiMaker devices, I can definitely recommend the printer itself.
- I personally would not purchase the WIFI module again, as for me, it would is very easy to set up an OctoPrint myself.
Will be continuing to publish updates here in this category.
Bislang keine Kommentare vorhanden.
Einen Kommentar hinterlassen